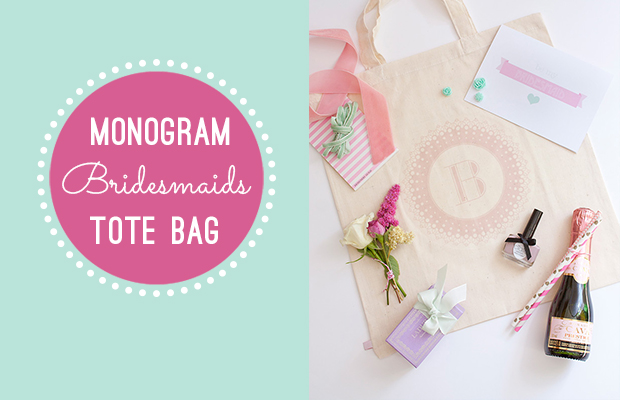
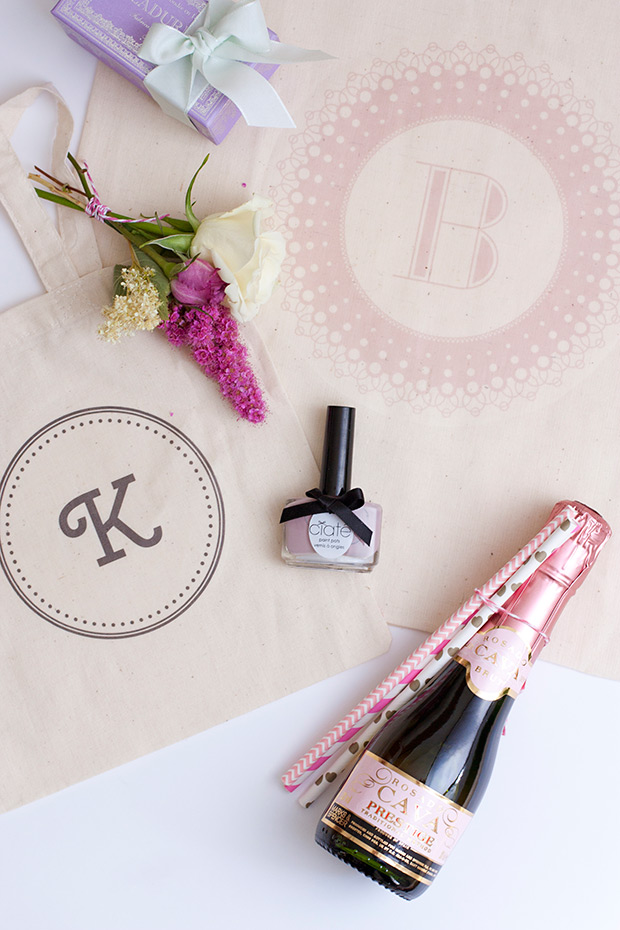
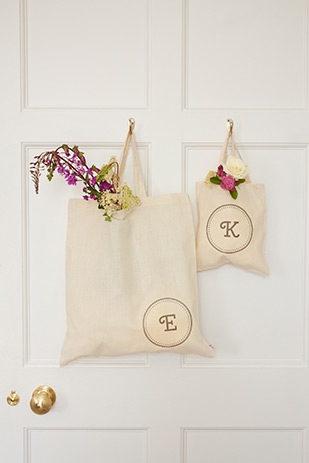
Looking for the perfect little gift for your leading ladies? Well, we have the answer today: we've created a super simple DIY project for you to make for them: a personalised tote bag. Tote bags are a great gift as they are reusable and can be filled with lots of goodies either to give to the girls or on the morning of your wedding or, like me, as a Be My Bridesmaids gift. Only €4 and 15 mins and you're done...
What You Need
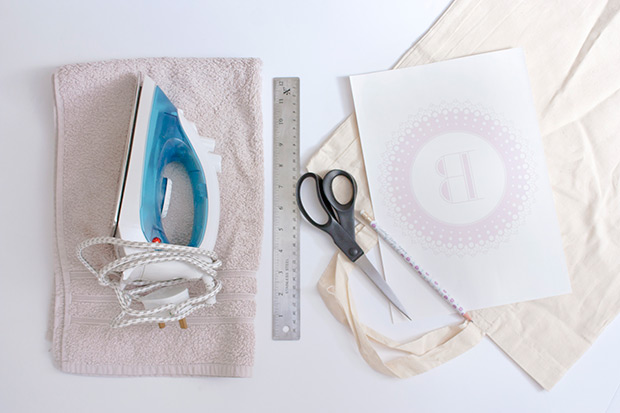
- Canvas tote bags (we picked ours up at The Art and Hobby shop)
- Iron-on Transfer Paper (available from K & M Evans)
- Sheet of white card
- Iron
- Ruler
- Ironing board
- Tea Towel
- Pencil
- Scissors
Total Cost: €4/£3
Time to Make: 15 mins
Step by Step Instructions
1. Download the templates at the bottom of this page. There are two different fonts available.
2. Print using the iron-on transfer paper.
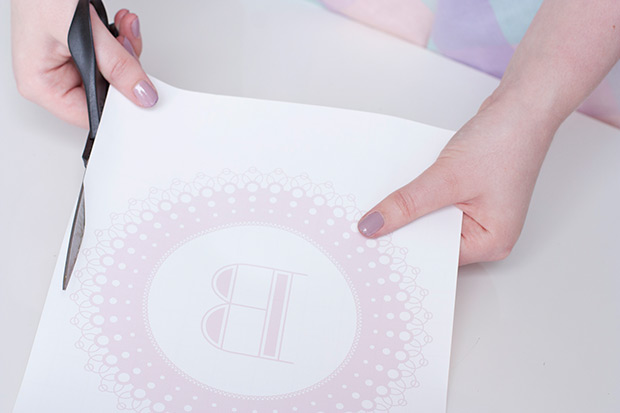
3. Use your scissors to carefully cut around the shape, removing as much of the excess white space as possible. (this will remove the shiny background that surrounds each letter, which will make your finished tote look much more polished)
4. Heat up your iron.
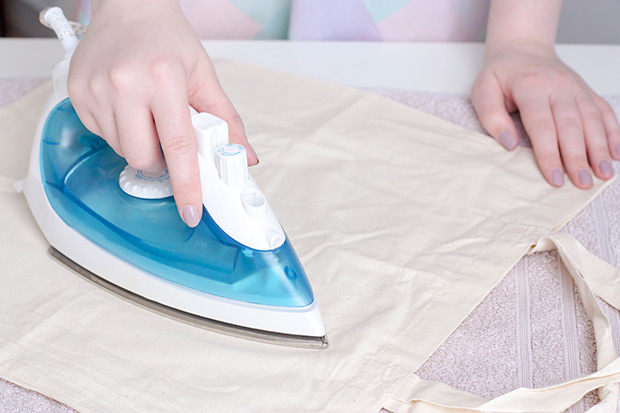
5. Iron the canvas totes to get rid of any of the creases.
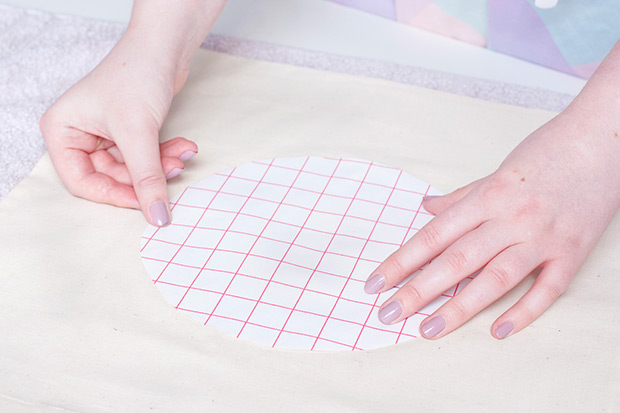
6. Place your transfer paper cut-out initial side down onto the tote bag.
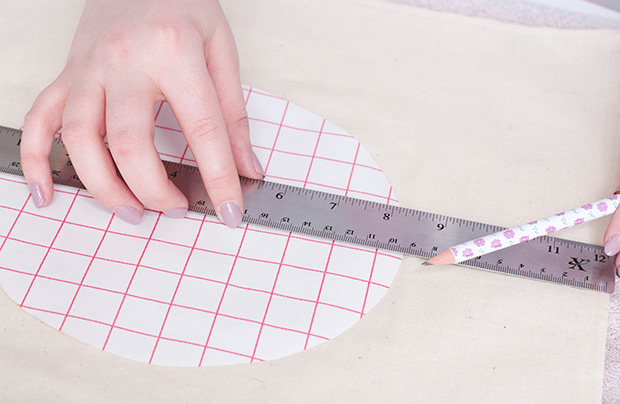
7. Using your ruler and a pencil, measure in from the sides to ensure the initial is centred.
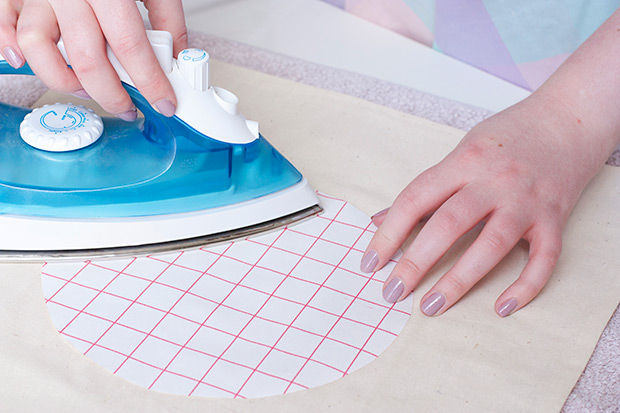
8. Empty the iron of water and turn off the steam put to highest cotton setting or heated to the transfer paper manufactures specifications. Place the illustration face down in the center of the tote bag and cover with a thin dishtowel.
Top Tip: Pop a piece of cardboard inside the bag for ironing
9. Press the iron over the dishtowel-covered face down illustration slowly for 30 seconds at a time until the image is attached to the tote.
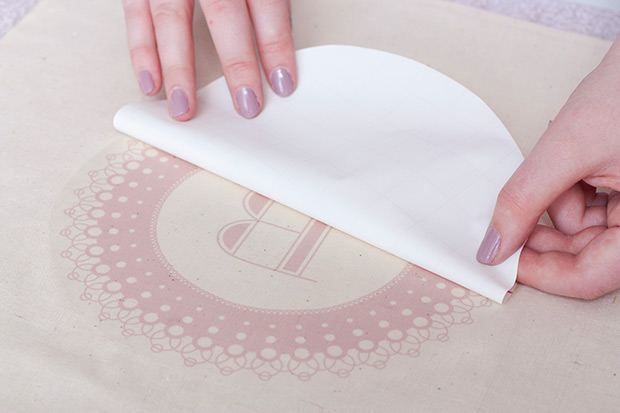
10. Allow the design to cool, then carefully peel off the backing using firm and steady pressure.
If any part of it peels up with the backing, just replace the backing and press it with iron for a few more seconds. Make sure your design fully adheres to the fabric at the edges.
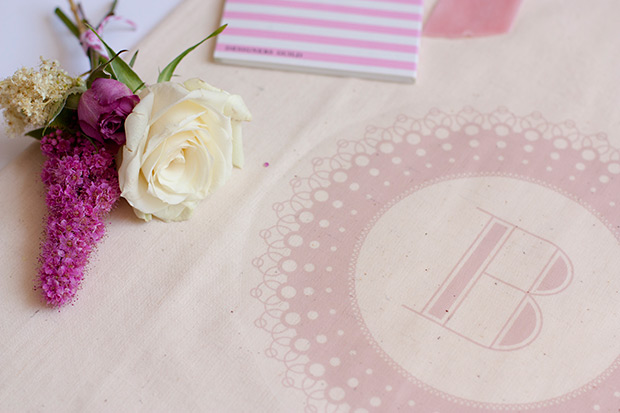
A Great Gift for the Girls
There you have it! A personal tote bag ready to fill with goodies for your bridesmaids.
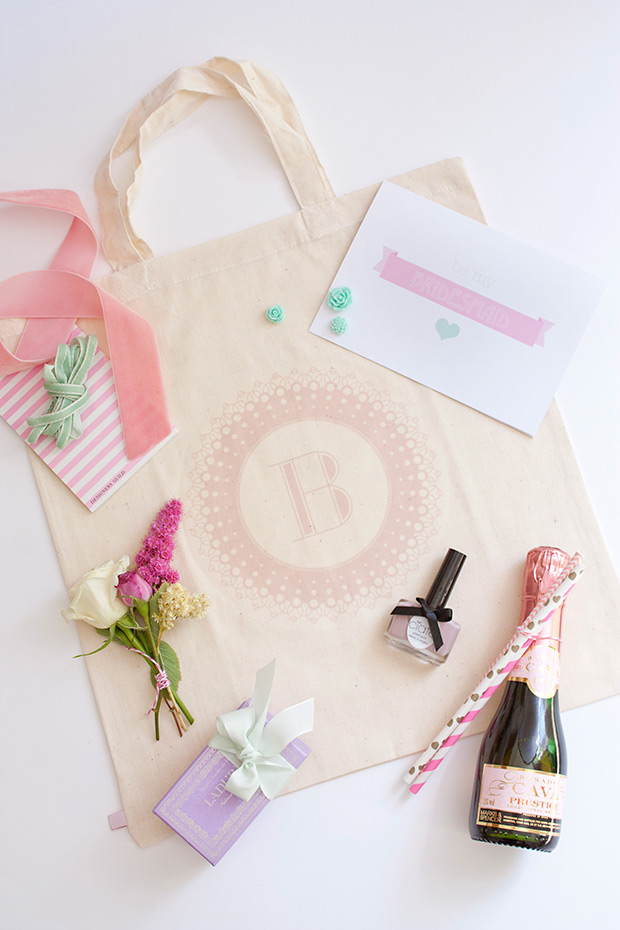
Stay tuned for our post on what little treats we have found to fill your tote bags. From mini bottles of champers to pretty packaged nail polishes we give you the low down on where to buy the goodies.
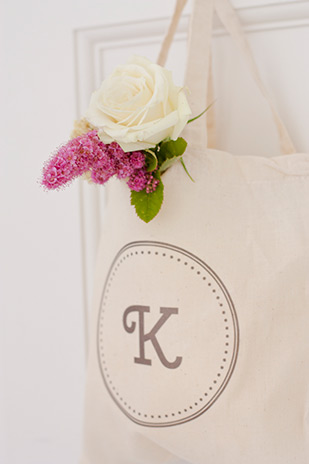
Download the Monograms Here
For all you craft loving brides see all of our One Fab Day DIY projects and printables here.

